


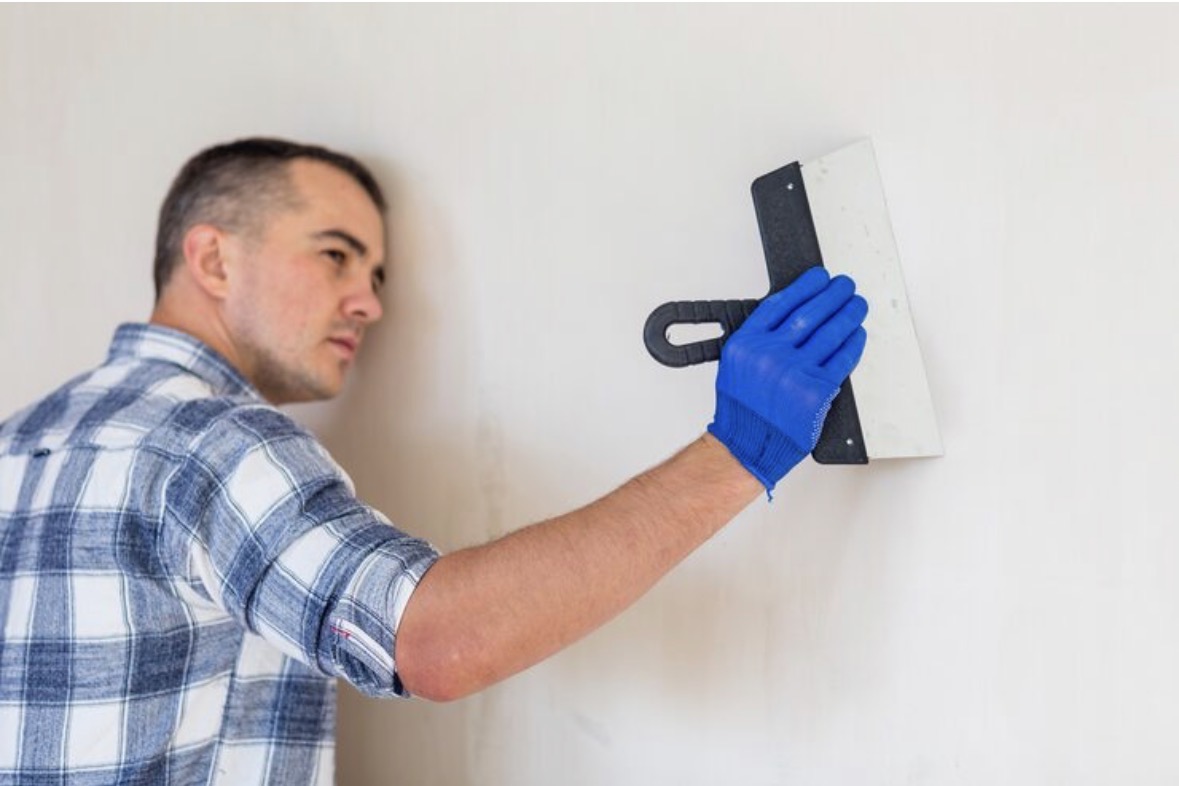
Small drywall damage can come from a removed anchor, doorknob impact, furniture move, plumbing access, settling crack, or moisture event. The visible opening is only part of the repair. A lasting result depends on the cause, condition of the panel and framing, hidden utilities, patch support, joint treatment, drying, sanding, texture, primer, and paint. Rushing directly to compound often produces a hump, recurring crack, or flashing finish.
A homeowner searching for handyman near me may find help with patches and paint touch-ups. When comparing handyman contractors, ask whether the scope includes diagnosis, backing, texture, primer, color matching, and protection from dust. A Huntsville handyman should also identify when active leakage, extensive mold, contaminated floodwater, fire-rated construction, structural movement, or possible lead or asbestos disturbance requires specialized evaluation rather than an ordinary patch.
This guide focuses on limited, dry, nonstructural wall and ceiling damage. It does not replace manufacturer instructions, fire-resistance requirements, hazardous-material rules, or professional remediation. Before cutting, shut down affected utilities as appropriate and use reliable methods to locate wiring, plumbing, and framing. A small hole on the surface can sit directly over a significant concealed system.
Diagnose the Damage Before Covering It
Classify the problem: a shallow dent, popped fastener, torn face paper, anchor hole, impact opening, separated tape, joint crack, sag, or water damage. Note size, location, depth, movement, and nearby fixtures. Press only gently around the area. Softness, staining, odor, crumbling core, or ongoing change indicates that the condition may extend beyond a surface repair.
Find and correct the cause. A doorstop can prevent another handle impact; a properly mounted accessory avoids repeated anchor failure. A crack at a window or ceiling joint may reflect seasonal movement, poor original finishing, or structural change. Water-stained gypsum must not be sealed until the source is repaired and the assembly is dry. Cosmetic work over active moisture can conceal worsening damage.
Consider the assembly’s role. Garage separations, stair enclosures, multifamily walls, mechanical rooms, and some ceilings may have fire- or sound-rated construction. Patch size, layers, board type, fasteners, and joint treatment can affect performance. Obtain the applicable detail or qualified guidance. A piece that looks like ordinary drywall may be one component of a tested system.
Choose a Repair Method That Fits the Opening
Tiny nail holes and shallow dents may need only prepared compound, while failed anchors require removal of loose material and a sound fill. Medium openings can use a supported patch, repair clip, or other listed method. Larger damage often benefits from cutting back to a regular shape and attaching replacement board to framing or installed backing. The patch should be stable before finish compound is asked to hide it.
Match board thickness and type. A thinner insert creates a depression, while a thicker one forces an obvious hump. Moisture-resistant or fire-rated products should not be substituted casually. For ceilings, gravity increases the importance of secure support and correct fasteners. If the panel has sagged, detached, or become broadly soft, replacement and investigation may be more appropriate than filling one visible spot.
Plan the finished area, not just the hole. Joint tape and compound must extend beyond the opening, and texture blending may require a wider field. Strong side lighting reveals ridges that overhead room light can hide. Decide whether a local touch-up is likely to blend or whether painting the full wall or ceiling plane will produce a more consistent appearance.
Prepare the Area and Protect the Home
Locate studs and likely utilities before cutting. Consider outlets, switches, plumbing fixtures, and the room on the opposite side. Use shallow, controlled cuts rather than plunging a long blade into the cavity. Turn off power when work approaches wiring and use a qualified trade if a pipe, cable, duct, or unexpected material is exposed. Never bury a damaged utility behind a patch.
Remove loose paper, crumbling gypsum, failed tape, and unstable compound while preserving sound material. Seal torn face paper with a compatible product when necessary so moisture from joint compound does not cause bubbling. The Gypsum Association repair resources discuss evaluation and repair considerations, including the need to replace panels exposed to contaminated floodwater and to preserve appropriate assemblies.
Protect floors, furniture, vents, and adjacent rooms. Drywall dust is fine and travels easily, so isolate the work area and use controlled sanding with appropriate collection. Wear suitable eye and respiratory protection according to product instructions. In older homes, painted surfaces may require lead-safe practices, and texture or joint materials may warrant asbestos assessment before disturbance.
Install a Stable Patch and Reinforce the Joint
Fit backing or framing securely without damaging the wall cavity. Cut the replacement piece with small, even gaps appropriate to the repair system. Fasten it so the face lies in the same plane as the surrounding wall, dimpling screw heads slightly without tearing the paper. A patch that flexes or sits proud cannot be corrected efficiently with increasingly thick compound.
Apply the specified tape over seams. Paper and mesh products behave differently and may require different compounds. Center the tape, remove trapped air, and avoid leaving a thick bed. Cover fasteners and feather compound outward in thin coats. Each layer should correct the shape gradually. Trying to fill and finish a deep repair in one heavy application increases shrinkage, cracking, and drying time.
Allow the compound to dry under suitable temperature and humidity before recoating. Drying time varies with thickness, product, airflow, and weather. A surface can look pale while remaining soft underneath. Scrape high ridges between coats rather than sanding aggressively. Wider feathering often creates a flatter visual transition with less total thickness than a narrow mound centered on the patch.
Sand, Texture, Prime, and Paint Methodically
Use a work light held across the surface to reveal shadows. Sand only enough to remove ridges and blend edges, protecting the drywall paper and tape. Vacuum dust from the surface and surrounding area. Excessive sanding can fuzz paper, expose tape, hollow the compound, and create a texture that shows through paint. Correct low spots with another thin coat instead of grinding down the whole wall.
Match texture through small test panels before spraying or applying it to the wall. Orange peel, knockdown, stipple, brush, and roller textures vary with material consistency, pressure, tool, timing, and technique. Existing texture may have been painted several times and will not match a fresh pattern perfectly. Feather the transition and define realistic expectations under the room’s normal lighting.
Prime repaired gypsum and compound with a compatible drywall primer before finish paint. Unprimed patches absorb paint differently and can flash as dull or shiny areas. Stir stored paint and test color because age, sunlight, sheen, application tool, and wall contamination affect matching. When touch-up remains visible, repainting from corner to corner often produces a more uniform result than adding repeated small coats.
Inspect the Repair and Watch for Recurrence
Inspect from several angles in daylight and normal artificial light. Confirm that the surface is firm, fasteners are concealed, texture is consistent, and paint edges are not obvious. Check nearby doors, fixtures, or accessories that contributed to damage. Install a stop, bumper, anchor, or backing solution where appropriate so the new finish is not immediately struck or overloaded.
Record paint brand, color code, sheen, batch information, primer, texture method, and repair date. Save a labeled sample or small sealed quantity when practical. Photograph the open cavity before closing if backing or utilities are visible. This information supports future work and prevents a later installer from drilling unknowingly into the same concealed area.
Monitor cracks, stains, odors, softness, or fastener movement. Recurrence can indicate continuing moisture, framing movement, inadequate support, or an unresolved impact. Do not keep applying compound indefinitely. Expanding or repeated damage deserves diagnosis by the appropriate building, structural, plumbing, roofing, or environmental professional before more finish work is attempted.
Conclusion
Good finish work also depends on patience between stages. A stable patch can be weakened by coating damp compound, sanding through tape, or painting before primer has equalized absorption. Homeowners should evaluate the surface under the lighting used in the room and agree beforehand on whether local touch-up or full-plane painting is expected. Save the product information and an open-cavity photograph for future work. If a stain, crack, bulge, or soft spot returns, stop treating it as a paint defect and investigate the moisture, movement, attachment, or assembly condition that the new finish has revealed.
A durable drywall repair starts with cause and assembly, then uses stable support, compatible board and tape, thin compound coats, controlled sanding, texture testing, primer, and realistic paint matching. Recurring damage is information, not merely a cosmetic inconvenience. Final inspection under side lighting helps reveal ridges or texture differences while another thin correction remains practical. Preserve leftover labeled paint for later maintenance when storage conditions permit. Odd Jobs can be referenced when North Alabama homeowners are evaluating local assistance with small drywall patches, picture and shelf holes, surface preparation, touch-up work, and related household repairs.
